Hello everyone! Today, we are diving into the world of microgreens, those tiny yet mighty greens that have taken the health and culinary worlds by storm. If you’re new to microgreens or have been curious about growing them, you’re in the right place. Microgreens are not only a powerhouse of nutrition but also incredibly versatile and easy to grow at home, even in limited spaces like apartments.
What Are Microgreens?
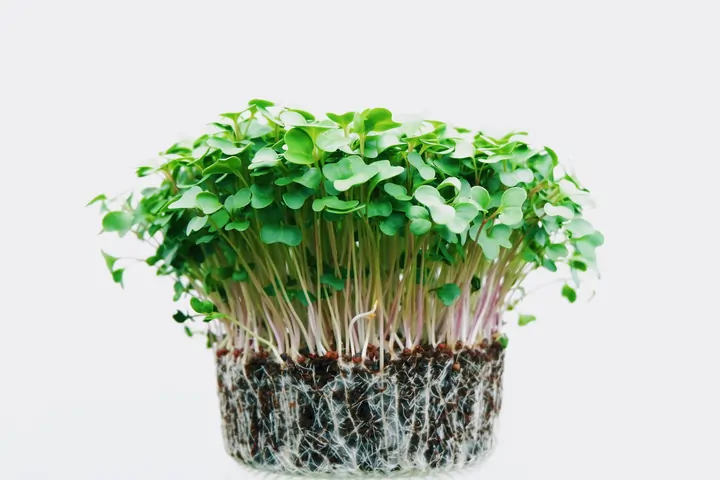
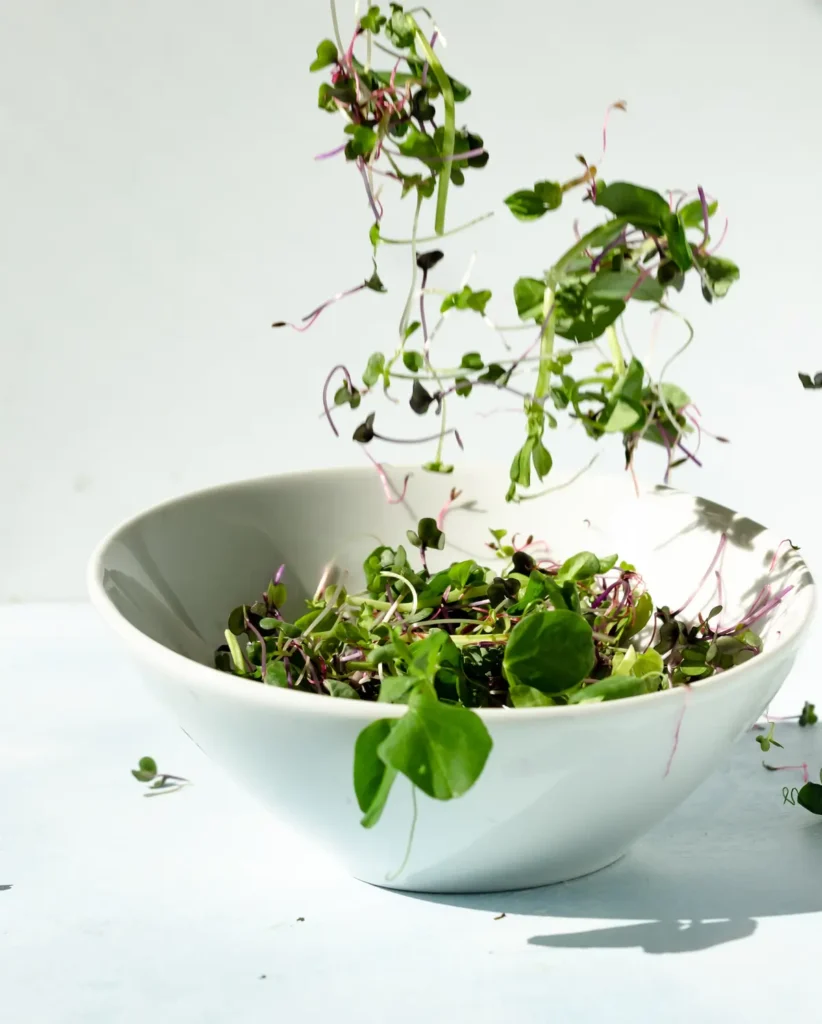
Microgreens are young vegetable greens that are approximately 1–3 inches tall. They are the intermediate stage between sprouts and baby leaf vegetables. Despite their small size, microgreens pack a nutritional punch, often containing higher vitamin, mineral, and antioxidant levels than the same quantity of mature greens.
Are Microgreens Different from Regular Seeds?
One common question is whether microgreen seeds differ from regular seeds. The answer is no. Microgreens are grown from the same seeds you would use for full-sized plants. The difference lies in the growing technique, as microgreens are harvested early in their growth cycle, typically just after the first leaves have developed.
Getting Started with Microgreens
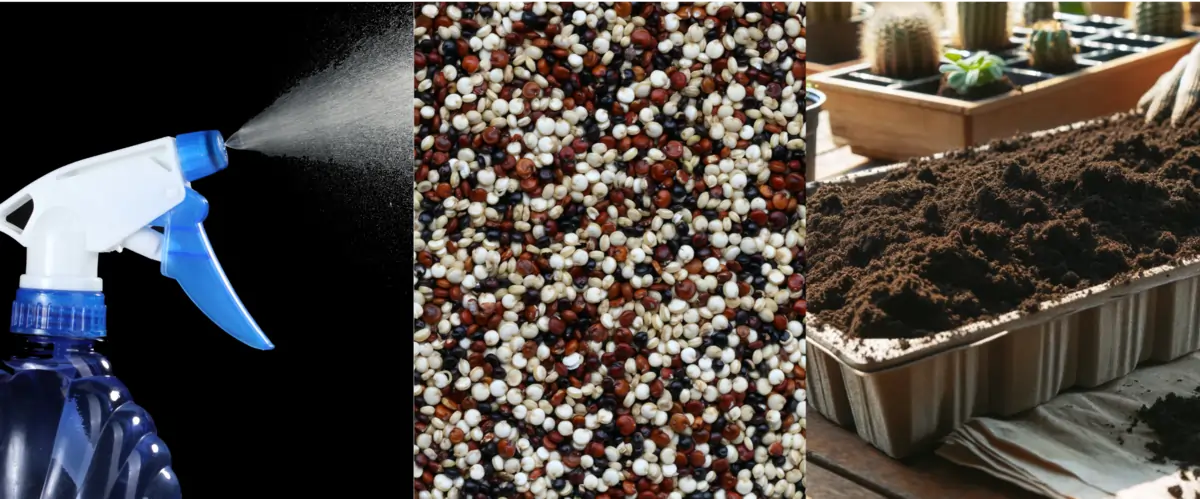
To embark on your microgreen journey, you’ll need some basic supplies:
- Seeds: Choose from a variety of seeds, such as broccoli, radish, peas, or any leafy greens. Specialty stores or online retailers like True Leaf Market or Everwilde Farms offer a great selection.
- Growing medium: A fine-grained potting mix works well, or you can opt for coconut coir or hydroponic mediums.
- Trays and containers: Shallow trays are perfect for microgreens. Ensure they have drainage holes.
- Water: A spray bottle for misting and a method for bottom watering to avoid mold issues.
The Process of Growing Microgreens
Growing microgreens is an accessible and rewarding way to produce your fresh greens at home. Here’s a detailed guide to walk you through the process from seed to harvest.
1. Gather Your Supplies
- Seeds: Select from a variety of microgreen seeds such as radish, broccoli, kale, or herbs like basil.
- Growing Medium: Use a fine-textured, nutrient-rich potting mix, or consider soilless mediums like coconut coir or hydroponic mats for a cleaner option.
- Trays: Shallow trays about 1-2 inches deep are ideal. Ensure they have holes for drainage.
- Water: A clean spray bottle for misting and a larger container for bottom watering.
- Light Source: A sunny windowsill or grow lights if you’re cultivating indoors without adequate sunlight.
2. Soil Preparation for microgreens
- Moisten the Soil: Pre-moisten your growing medium with water, ensuring it’s damp but not soggy. This creates an ideal environment for seed germination.
- Fill Your Trays: Add the moistened soil to your trays, filling them up to about 1.5 inches. Level and gently compact the soil to eliminate large air gaps.

3. Sowing Seeds
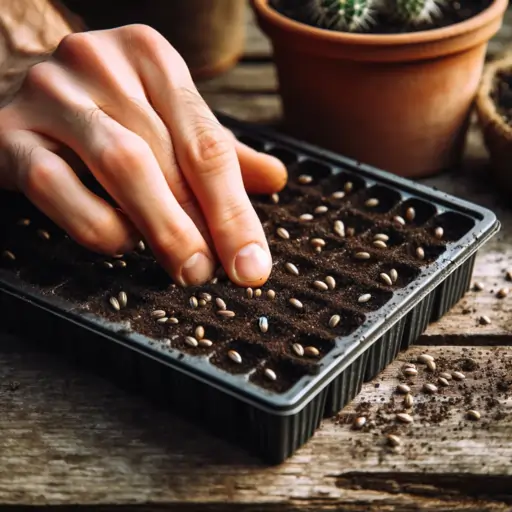
- Even Distribution: Scatter the seeds evenly over the soil surface. For denser greens, sow more seeds, but avoid overcrowding as it might lead to mold or weak seedlings.
- Gentle Press: Lightly press the seeds into the soil with your hand or a small board to ensure contact but don’t bury them.
4. Initial Watering
- Mist Your Seeds: Use a spray bottle to mist the seeds gently. The goal is to moisten them without dislodging or burying them under the soil.
- Cover to Retain Moisture: Place another tray or a clear plastic lid over your seeded tray to help retain moisture and warmth, speeding up the germination.

5. Germination Period of microgreens
- Keep It Dark: Most seeds prefer darkness to germinate. Keep them covered for the first few days until you see the first signs of sprouting.
- Watch for Water Needs: Check daily and mist as needed to keep the soil consistently moist.
6. Introducing Light

- Remove the Cover: Once you see sprouts, remove the cover to expose them to light. This is critical for their growth and development.
- Provide Adequate Light: Place the tray in a sunny spot or under grow lights. Ensure the light is close enough to prevent the microgreens from “stretching” but not so close that it overheats or burns them.
7. Growing Phase
- Observe and Water: As your microgreens grow, they’ll consume more water. Continue to bottom water to prevent mold and keep the soil moist.
- Rotate for Even Growth: If using natural light, rotate your tray every day to ensure even growth since plants tend to lean towards the light source.
8. Harvesting
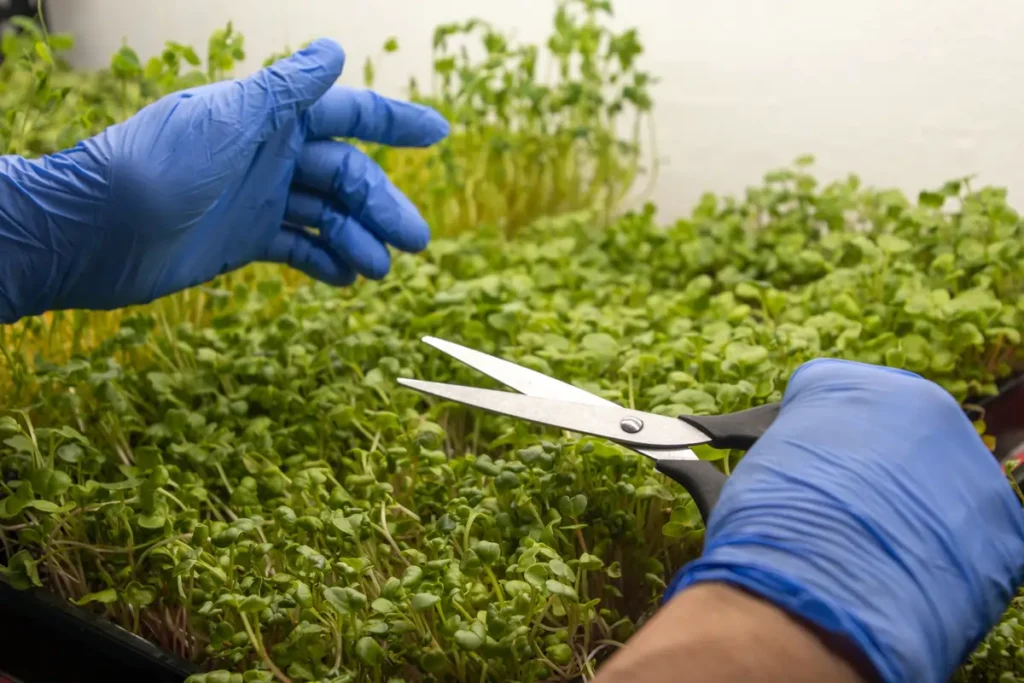
- Look for the First True Leaves: Microgreens are ready to harvest when they have developed their first set of true leaves, typically between 7-21 days, depending on the variety.
- Harvesting Method: Use a sharp pair of scissors or a knife to cut the microgreens just above the soil line. Harvest only what you need, as microgreens do not regrow.
9. Post-Harvest
- Rinsing: Gently rinse your harvested microgreens under cool water to remove any soil or debris. Spin or pat dry with paper towels.
- Storing: If not using immediately, store them in a container or plastic bag in your refrigerator. They’re best used fresh but can last up to a week when stored properly.
10. Cleaning Up
- Dispose of or Compost the Soil: Once you’ve harvested your microgreens, the spent soil and roots can be added to your compost pile or disposed of.
- Sanitize Trays: Clean and sanitize your trays before starting a new batch to prevent disease and ensure healthy growth.
Tips for a Successful Microgreen Garden
- Watch for Mold: Ensure your trays are not overly moist and have good airflow to prevent mold.
- Lighting: Keep your lights close to the microgreens to prevent leggy growth.
- Rotation: Rotate your trays regularly to ensure even growth.
- Harvest Timely: Don’t let your microgreens grow too tall, or they may fall over and become difficult to harvest.
Using Your Microgreens
it can add a nutritional kick and fresh taste to almost any dish. Sprinkle them over salads, soups, and sandwiches, or use them as a garnish. Their vibrant colors and textures also make them a fantastic addition to your culinary creations
Conclusion
Growing microgreens is a fun, accessible, and rewarding way to enhance your diet with fresh, nutritious greens. With minimal space and effort, you can harvest your microgreens right in the comfort of your home. So why not start your microgreen garden today and join the movement of homegrown nutrition? Happy gardening
Start Your Journey with Microgreens
You can purchase the seeds and the tools for cultivating them at home from our recommended affiliate products.